Mini Pond Planter
Difficulty: Intermediate
Liven up your outdoor space with our fun mini pond and planter project.
Recommended products
What you’ll need
- 6ft x1ft planed timber boards
- 4.0 x 50mm wood screws
- Timber for base
- 240g sandpaper
- Damp seal paint
- Oil/varnish/paint
- Aggregate
Step-by-step instructions
Step 1
Cut two boards to 78cm for the planter sides and cut three 38cm pieces for the planter ends and divider.


Step 2
Construct the outer frame using the wood screws.
Tip: always drill pilot holes before screwing.
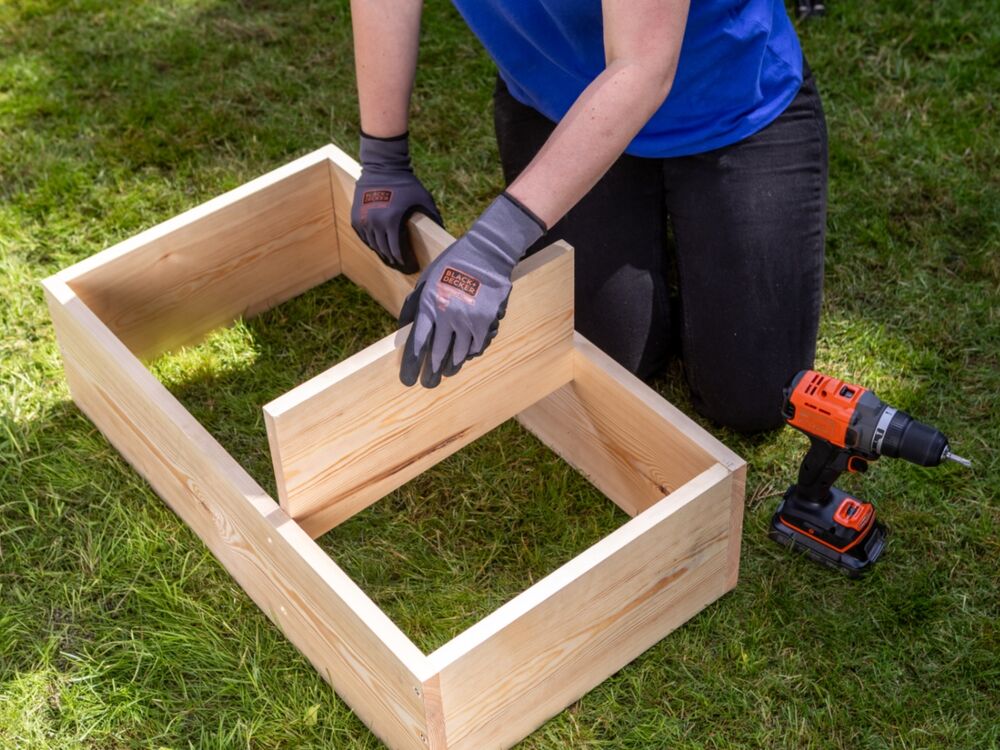
Step 3
Slide the divider into the frame and screw into place.


Step 4
Measure and cut the timber boards for the base, flip over and fix to the frame with wood screws.
Tip: drill drainage holes in the base of the planter section with an 8mm drill bit.
Step 5
Sand down with 240g paper.


Step 6
Paint the inside of each compartment with damp seal paint.
Step 7
Stain exterior with oil/varnish of your choice, or paint.


Step 8
Fill planter side with aggregate first and then plants.
Step 9
Fill the pond side with water, plants and ornaments.


