Make a Rocking Elephant
Skill Level: Experienced
Create something the kids will love with this cute rocking elephant.

Whether it’s a gift or something to keep the kids happy, our rocking elephant project is the perfect way to make something personal your kids will love and treasure forever. Follow our step-by-step tutorial to get started.
Products You Will Need
Step by Step Instructions
Step 1. Download and Print Stencil
Download the elephant stencil PDF and print. The stencil is A1 size, so if you have an A4 printer it will need to be printed as separate A4 pages. To do this, select the ‘tile’ option in the print dialogue menu before you print. Your printer will then print out the stencil as 8 separate A4 pages. Alternatively, you can take the stencil file to a local printing shop.
Step 2. Stick Stencil Together
Using masking tape, stick the separate A4 sheets together.
Step 3. Cut Out Template
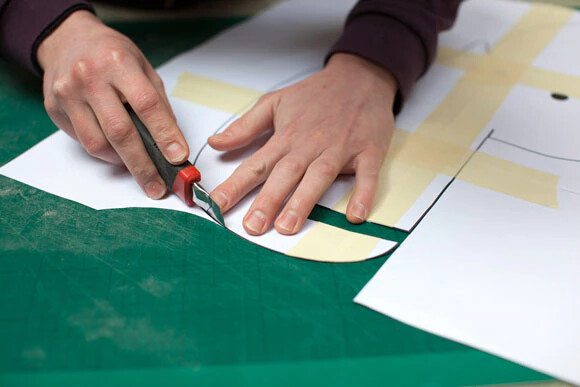
With a sharp knife, cut out the template elements.


Step 4. Draw Around Template
Stick the template to the plywood and carefully draw around it.
Step 5. Ready to Cut
Remove the paper template. Your plywood is now marked and ready to cut. Repeat this for all of the different template elements.
Step 6. Select Setting
Select the correct setting for your Jigsaw.
Step 7. Get Cutting
Carefully cut around the template.


Step 8. Drill Two Holes
Using a drill and a 22mm Forstner drill bit, cut out a hole for the eye and tusks.
Repeat.
Step 9. Smooth the Edges
Carefully sand the wood to ensure its smooth to touch.
Step 10. Assemble the Elephant
Start to assemble the elephant. Apply wood glue and then slot the wood into place. Make sure the wood glue is completely dry. Follow pack instructions.
Repeat for the seat and ears.
Step 11. Drill a Hole
Drill a hole for the elephant tail.


Step 12. Glue Front Legs to Base
Glue the front legs to the base ensuring they are centrally positioned.
Step 13. Attach Legs to Body
Apply glue and slot in the front legs to the body.
Step 14. Glue the Runners to the Back Legs
Now glue and attach the runners. They should be 20cm from the end of the runner to the back leg.
Step 15. Attach the Runners
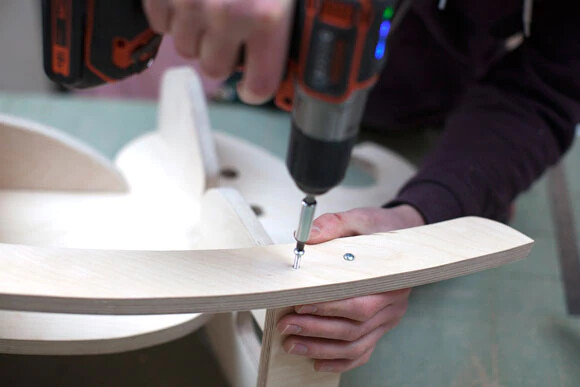
Attach the front of the runner using a drill/driver.


Step 16. Secure Tusks
Slot in the elephant tusks and handle using glue to secure.
Step 17. Attach Tail
Attach the tail using glue.
Step 18. All Finished
Finished. You can now wax or stain the elephant if you wish.


